How to Connect Your Wireless Printer to Your Computer
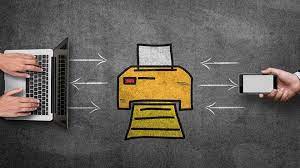
Wireless printers have revolutionized the way we print, offering convenience and flexibility. Connecting your wireless printer to your computer might seem like a daunting task, but with the right steps, it's a straightforward process. In this blog post, we'll guide you through the steps to establish a seamless connection between your wireless printer and computer.
-
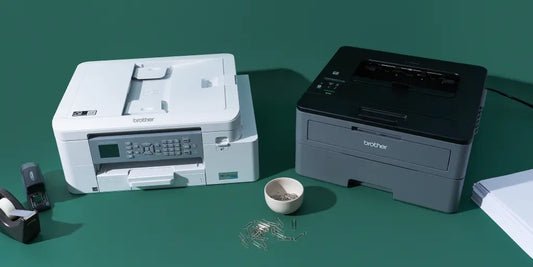
Prepare Your Printer: Ensure that your wireless printer is properly set up and turned on. Check the printer's display or refer to the user manual to confirm that it is in a ready state.
-
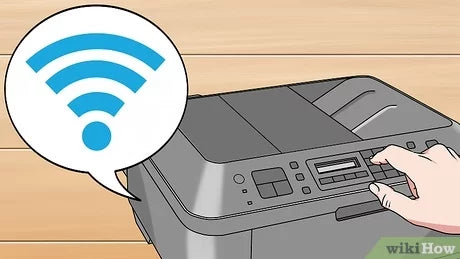
Connect to Wi-Fi: Most wireless printers rely on Wi-Fi for connectivity. Use the printer's control panel to navigate to the Wi-Fi settings. Select your Wi-Fi network and enter the network password if prompted. Alternatively, some printers may have a WPS (Wi-Fi Protected Setup) button that allows for a quick and secure connection.
-
Install Printer Drivers: Your computer needs the necessary drivers to communicate with the printer. Check if your computer has the printer drivers pre-installed. If not, visit the printer manufacturer's website to download and install the latest drivers for your specific printer model.
-
Windows Users: For Windows users, open the Control Panel and navigate to "Devices and Printers." Click on "Add a printer" and follow the on-screen instructions. Windows should automatically detect your wireless printer on the network.
-
Mac Users: If you're using a Mac, go to "System Preferences" and select "Printers & Scanners." Click on the '+' sign to add a printer. Your wireless printer should appear in the list of available printers; select it and click "Add."
-
Printer IP Address (Optional): If the automatic detection doesn't work, you can find your printer's IP address in the printer settings. Manually enter the IP address when prompted during the printer setup on your computer.
-
Print a Test Page: Once the connection is established, print a test page to ensure that the communication between the computer and printer is successful. This step allows you to verify the print quality and troubleshoot any issues promptly.
-
Troubleshooting: If you encounter any issues during the connection process, check the printer's manual or visit the manufacturer's support website for troubleshooting guides. Common issues may include incorrect Wi-Fi credentials, outdated drivers, or interference from other devices.


